
How do you shrink a group of images without turning the final batch into a quality problem? The job is easier when compression is treated as a controlled export step with a known size target, a short review list, and a separate source archive.
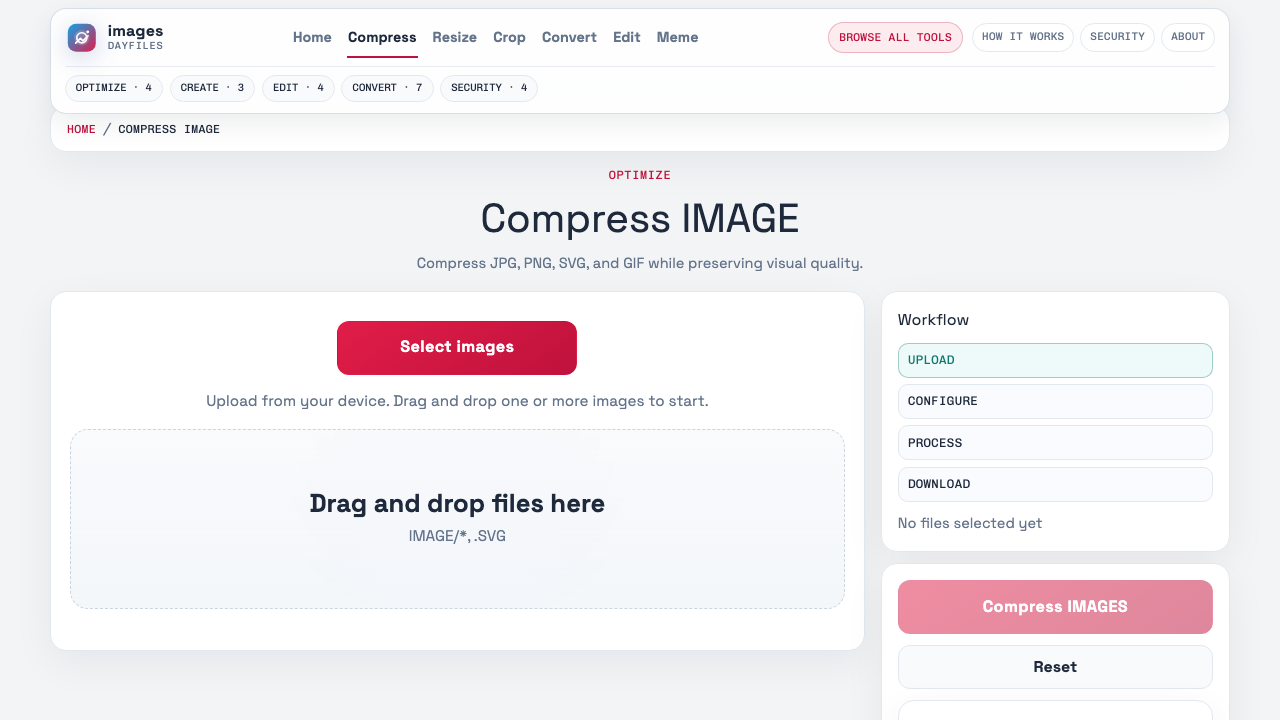
The best starting point on Dayfiles is the Images hub before switching into the live tool at Images by Dayfiles. That route works best when the batch already has a clear destination and the operator knows what kind of review the output will need.
When does compress image batches become the right image step?
This workflow comes up most often when a team is preparing files for:
- portal uploads with file-size caps
- email-ready asset packs
- CMS uploads that reject oversized files
Each of those jobs has one thing in common: the output is meant to travel. That means the batch needs more than a quick edit. It needs a predictable handoff.
What should be decided before compress image batches starts?
Use this short preflight before loading the batch:
- know the target size or destination limit
- identify images with tiny text or product detail
- separate source files from the soon-to-be compressed batch
Those decisions keep the batch consistent. They also make it easier to explain the output to the next reviewer instead of forcing them to reverse-engineer what changed.
A cleaner compress image batches route
- Open the Images hub and start the compression route.
- Bring in only the files for the current delivery batch.
- Apply compression once, then review the files most likely to degrade first.
- Check whether the new batch now fits the intended upload or send limit.
- Label the compressed output as a delivery copy instead of replacing the originals.
Running the workflow in that order reduces the two biggest risks in image handling: mixing source files with output copies and discovering a preventable quality problem only after the batch has already been sent onward.
Which files need the closest review after compress image batches?
Do not review every file with the same intensity. Slow down on the assets most likely to break the handoff:
- text clarity
- product edge detail
- overall file size
- source-versus-output naming
If those risk points are sound, the rest of the batch is usually much easier to trust.
How should the compress image batches handoff be packaged?
The next person should be able to tell which files are source assets, which files are the processed delivery batch, and what destination the batch was prepared for. Clear folder names and export labels matter because image work often gets reused in several systems after the first share.
That packaging step matters even more when the images will later be compressed again, dropped into a PDF, or handed to someone who was not part of the original edit. If the output set is not clearly labeled, the next operator may make a second round of edits on top of the wrong files.
What should happen right after the compress image batches export?
Do one short pass before the batch moves on:
- Open several representative files from the output set.
- Compare the output against one or two source files if the job is sensitive.
- Confirm the destination requirement was actually met.
- Store the batch in a folder that makes the output status obvious.
This four-step release pass prevents a surprising number of downstream problems. It catches naming issues, missed compression targets, awkward crops, and accidental quality loss before another system or teammate bakes those problems in.
Where does compress image batches usually stop being useful?
They lose value when they stop at “click this tool” and never explain what a good batch looks like afterward. The Dayfiles version of the workflow should stay useful even for someone who already knows where the button lives, because the real work is deciding which files need extra attention and what counts as a safe output.
What should the next system or teammate receive from compress image batches?
The receiving person should get a batch that is boring in the best possible way. The files should open the same way, follow one naming rule, and already match the destination constraint that triggered the work in the first place. If the next person has to ask which files are final or whether the originals were preserved, the workflow still needs work.
That matters because image tasks often chain together. A resized batch may later be compressed. A cleaned product photo may later be converted to JPG. A privacy-safe share set may later be moved into a report. The handoff quality on this step affects every later step.
When is it worth repeating the compress image batches pass?
Run it again only when the review reveals one specific correction target, such as the wrong dimensions, unacceptable compression, or a naming issue that would confuse the next handoff. Re-running the full batch without a clear reason often creates a second round of file sprawl and makes it harder to tell which output is authoritative.
More Dayfiles guides around compress image batches
- How to Resize Images in Bulk for Listings and Uploads
- How to Convert Images to JPG for Consistent Delivery
- images remove background product photos guide
Before you release the compress image batches batch
The final question is not “Did the tool run?” It is “Would the next person know exactly what this batch is for, whether it is approved, and whether the originals are still safe?” If the answer is yes, the workflow is doing its job.
That is also what makes the page stronger editorially. A guide about compress image batches should help with the decision-making around the output, not only the button path that starts the process.